Workflow Automation tips: Save your team hours with automated workflows for common tasks
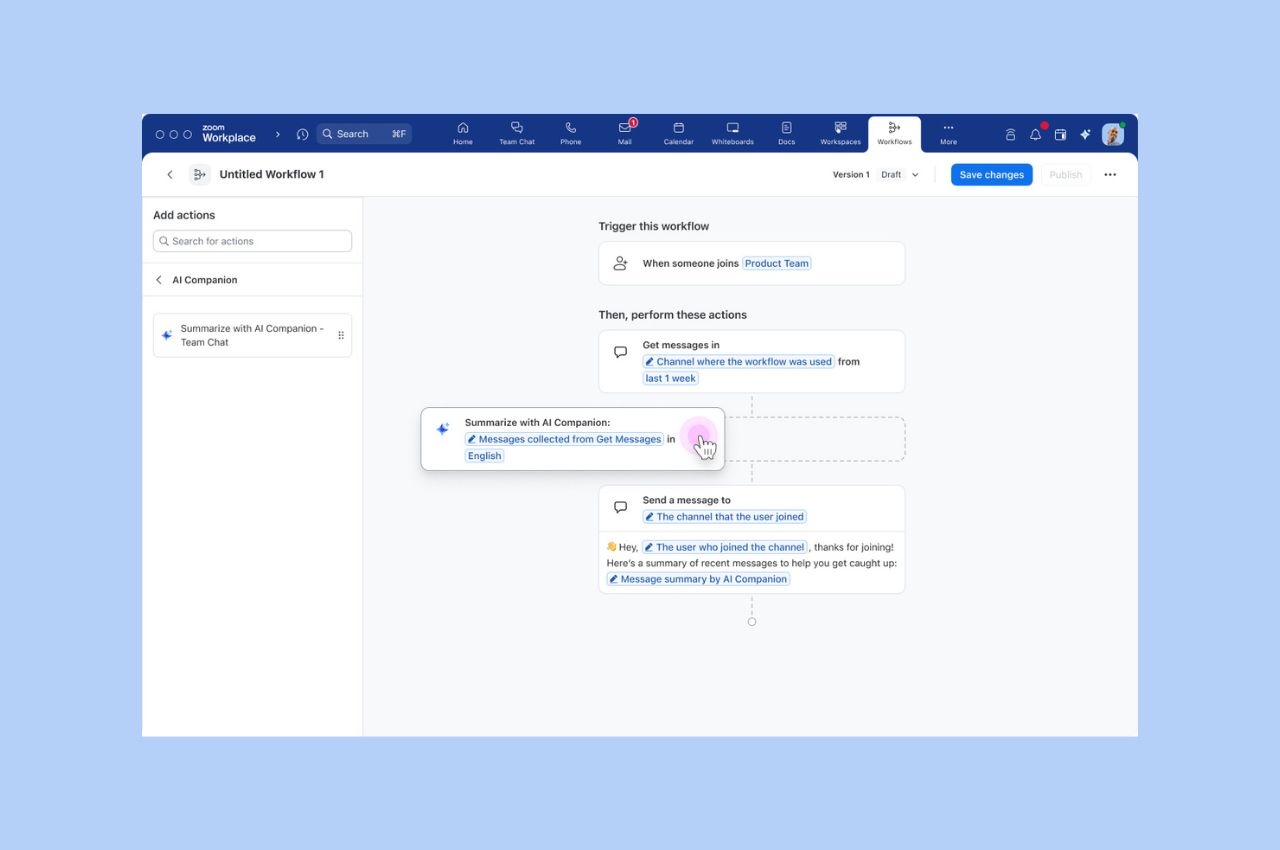
Zoom Workflow Automation allows you to create automated workflows for common tasks like responding to chat messages, helping your team save time.
Updated on September 12, 2022
Published on May 04, 2021


Recording a Zoom Meeting has lots of benefits for you and your audience. You can easily return to your recording to review action items from your call or share the video with those who weren’t present during the meeting. You can also repurpose recordings to create on-demand content for your website or intranet.
See our video for a quick refresher on how to record a meeting on Zoom. Depending on your account, you’ll have different options available for recording:
Both Zoom cloud recordings and local recordings provide high-quality MP4 (video and audio) and M4A (audio only) files.
Before you do anything, you need to find your recording file!
Cloud recordings take some time to process, so we’ll send you an email notification when yours is available. Click the host link in your email to view and manage your recording, or share it with others using the “Share recording with viewers” link.
You can also find links to all your recordings on the Zoom desktop client by clicking the Meetings tab, then the Recorded tab at the top of the left panel. You’ll see a list of all the past meetings you’ve recorded locally and to the cloud, and you can select the meeting you want to view.

Once you have your recording, here are a few things you can do to get it into tip-top shape and share it with others.
You don’t need to edit your meeting recording, but it can help to create a more polished or succinct final product. So don’t worry about the awkward couple of seconds at the beginning when you’re saying, “Well, let’s wait a few more minutes before we get started…” — you can always cut that part out!
If you’ve recorded a particularly long meeting, you might want to edit the recording into smaller files for easier distribution. Remember, the longer the meeting, the larger the recording file.
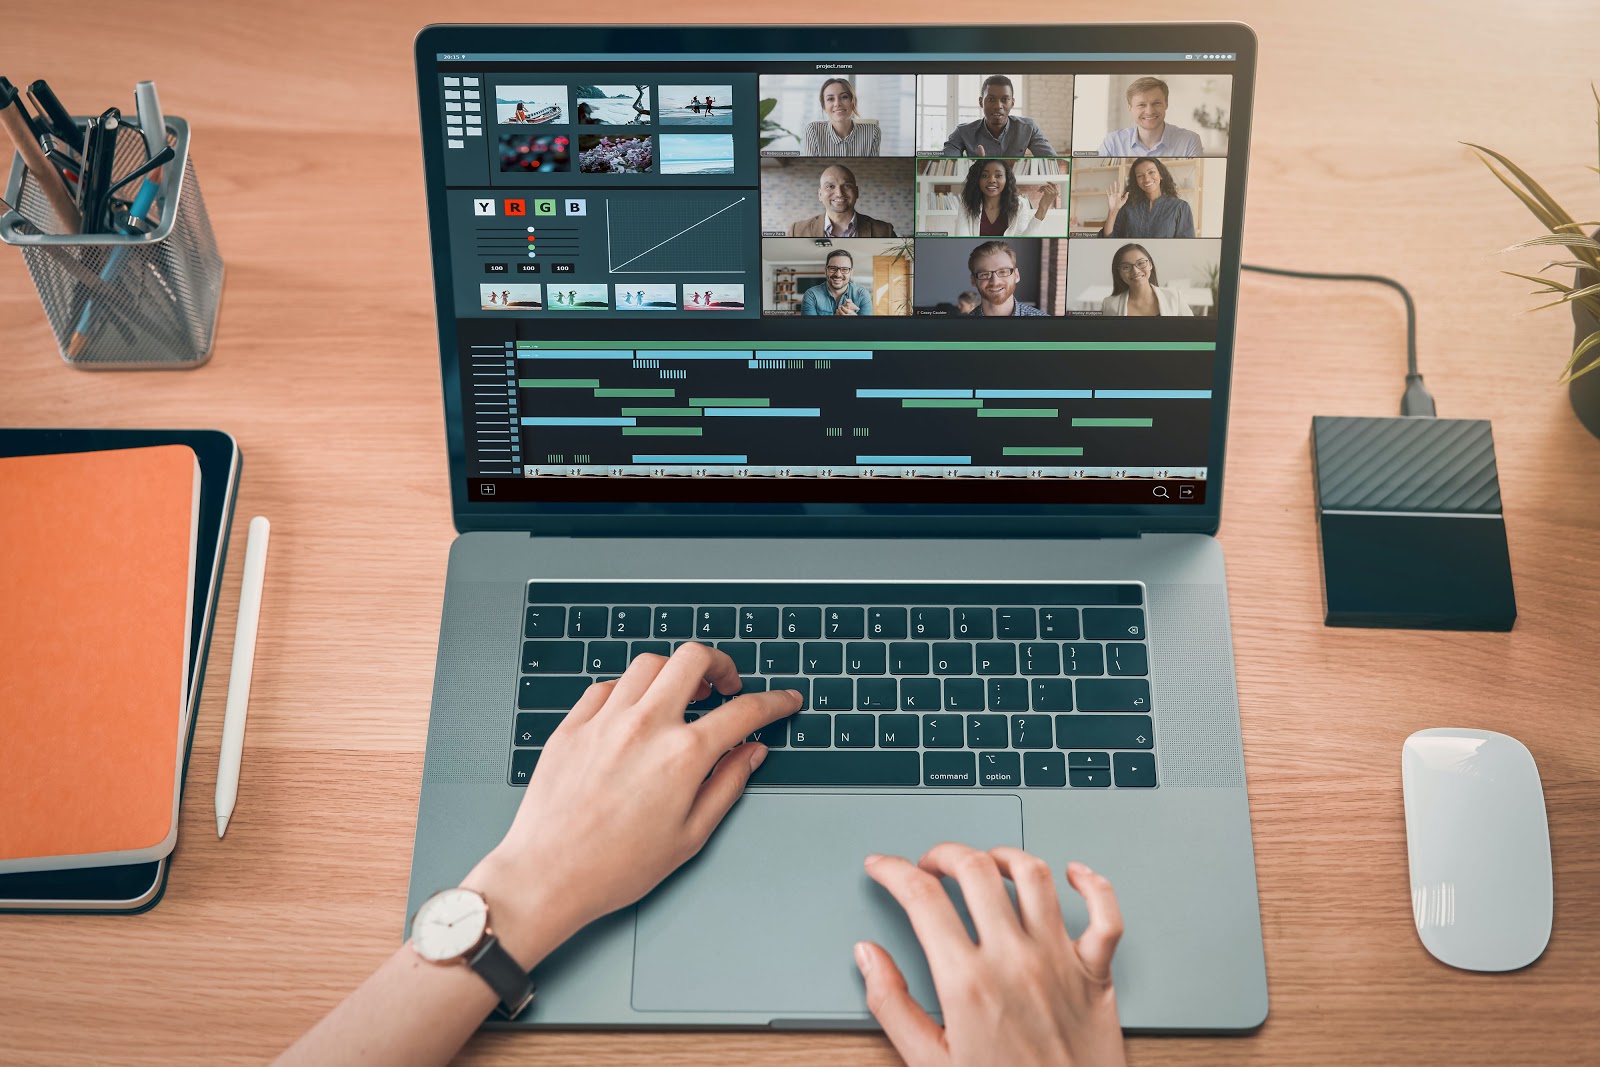
Zoom recording formats — MP4 and M4A — are easy to edit in virtually any editing software, like ScreenFlow, Camtasia, iMovie, or any of the video solutions in Adobe Creative Cloud. Go to your account settings to choose an option to optimize your recording for a 3rd-party video editor for the best results.
If you want to make your recordings more accessible by adding captions or creating a transcription, you’ll first need to make sure audio transcription is enabled on your account. Then, any meeting or webinar you record to the cloud will automatically transcribe the audio.
After you record a meeting to the cloud, you’ll receive an email once the recording is available. If audio transcription is enabled, you’ll automatically receive a second email once the audio transcript is available — this may take a little more time to process than your meeting recording. Your audio transcript VTT file can be found at the same URL where your meeting recording is stored, ready for you to download and edit.
If you want to display the transcript as captions, simply view your recording and click the CC icon at the bottom right of the screen. If you want to add captions to a downloaded video, depending on the playback software you’re using, you can upload the VTT file.

Once you’ve edited, captioned, and finalized your recording, you’re ready to share!
If you want to reach a wider audience, you can upload your MP4 recording to a video hosting site like YouTube or Vimeo, or your own website.
If you want to share with only a select audience, you can send a link to the cloud recording. All you need to do is copy and paste the link from the original email you received, or click the Share button on your recording management page for a sharable link. You’ll get several options to secure your recording, such as only allowing authenticated users to view it, requiring a passcode, or adding an expiry date.
For local recordings, we recommend uploading your video file to a cloud file sharing service, like Dropbox, Box, or Google Drive, so you can easily share it.
Now that you’ve read up on what you can do with your meeting recordings, find all the answers to your lingering questions on our local and cloud recording FAQ and jump right in to recording your next meeting.
Need more cloud storage? Explore additional Zoom licenses or our optional add-on plans at zoom.us/pricing.
Editor’s note: This post was originally published in June 2015 and has been updated for accuracy and comprehensiveness.