Education How-to

6 Best Practices for Schools Using Zoom

Zoom describes best practices for educators - how to set up the technology and room for video conferencing, use dual screens, record and annotate.
6 min read

Updated on September 22, 2022

Published on October 10, 2013

Zoom

After meeting with our Zoom Education User Group in September, we decided it might be helpful for our users in educational institutions to have some written best practices for using Zoom on their campuses.

We’re going through a moment in history when video is saturating the education market, whether it’s an instructional video recorded and uploaded to the web or a video meeting between a tutor and student. But video in education is still in the experimental phases in most institutions.

While many educational institutions are struggling to get up to speed with video, some of them have already mastered it to a refined perfection. The first question that might come to mind is, “What are they doing right?” Perhaps another way of looking at this question would be to ask how they're fixing and preventing problems to create a seamless experience for their users.

Even though Zoom offers a user-friendly experience through its intuitive interface, it’s still new territory for some. Organizations specializing in education must follow a set of best practices to enjoy all the benefits of using Zoom:

Setting Up the Technology

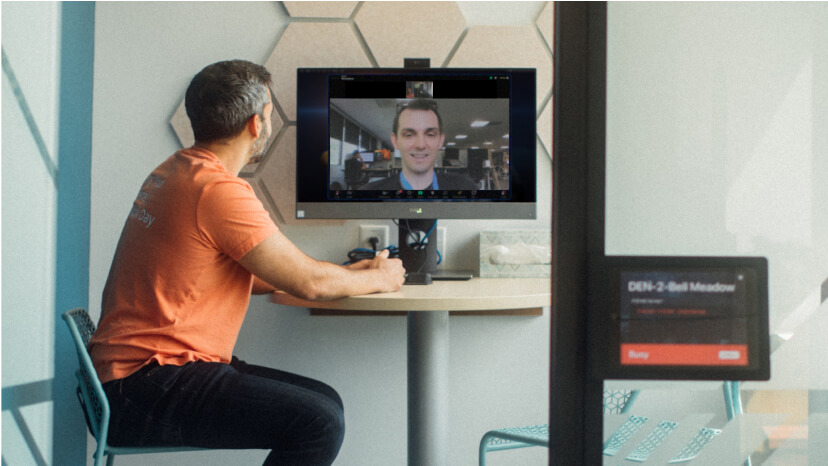
In most instances, you can make do with any desktop platform, such as a laptop, PC or Mac. While Zoom supports most smartphones and tablets, you’ll get the best video experience from using something with a bit more screen real estate.

Computers (especially laptops and mobile devices) come with integrated cameras. However, these cameras do not have the high definition output of most mid-range external USB cameras. Preferably, you should be using something with a resolution of 720p or higher. If you want to go fancy, get an HDMI camera (but make sure that the computer has the appropriate video capture card). For document presentations, a document camera is preferred above any other type. It’s similar to the analogue projectors that many schools still use. We recommend the HoverCam.

Most of these cameras come with microphones, but these are often anemic. They pick up sound inefficiently, fail to block environmental noises, and sit far from the speaker. If you like to walk around the room while speaking, you’ll find yourself feeling tied down to a location very close to the microphone. We recommend clip-on or USB speakerphone mics.

Of course, you’ll also need to set up Zoom.
Setting Up the Room

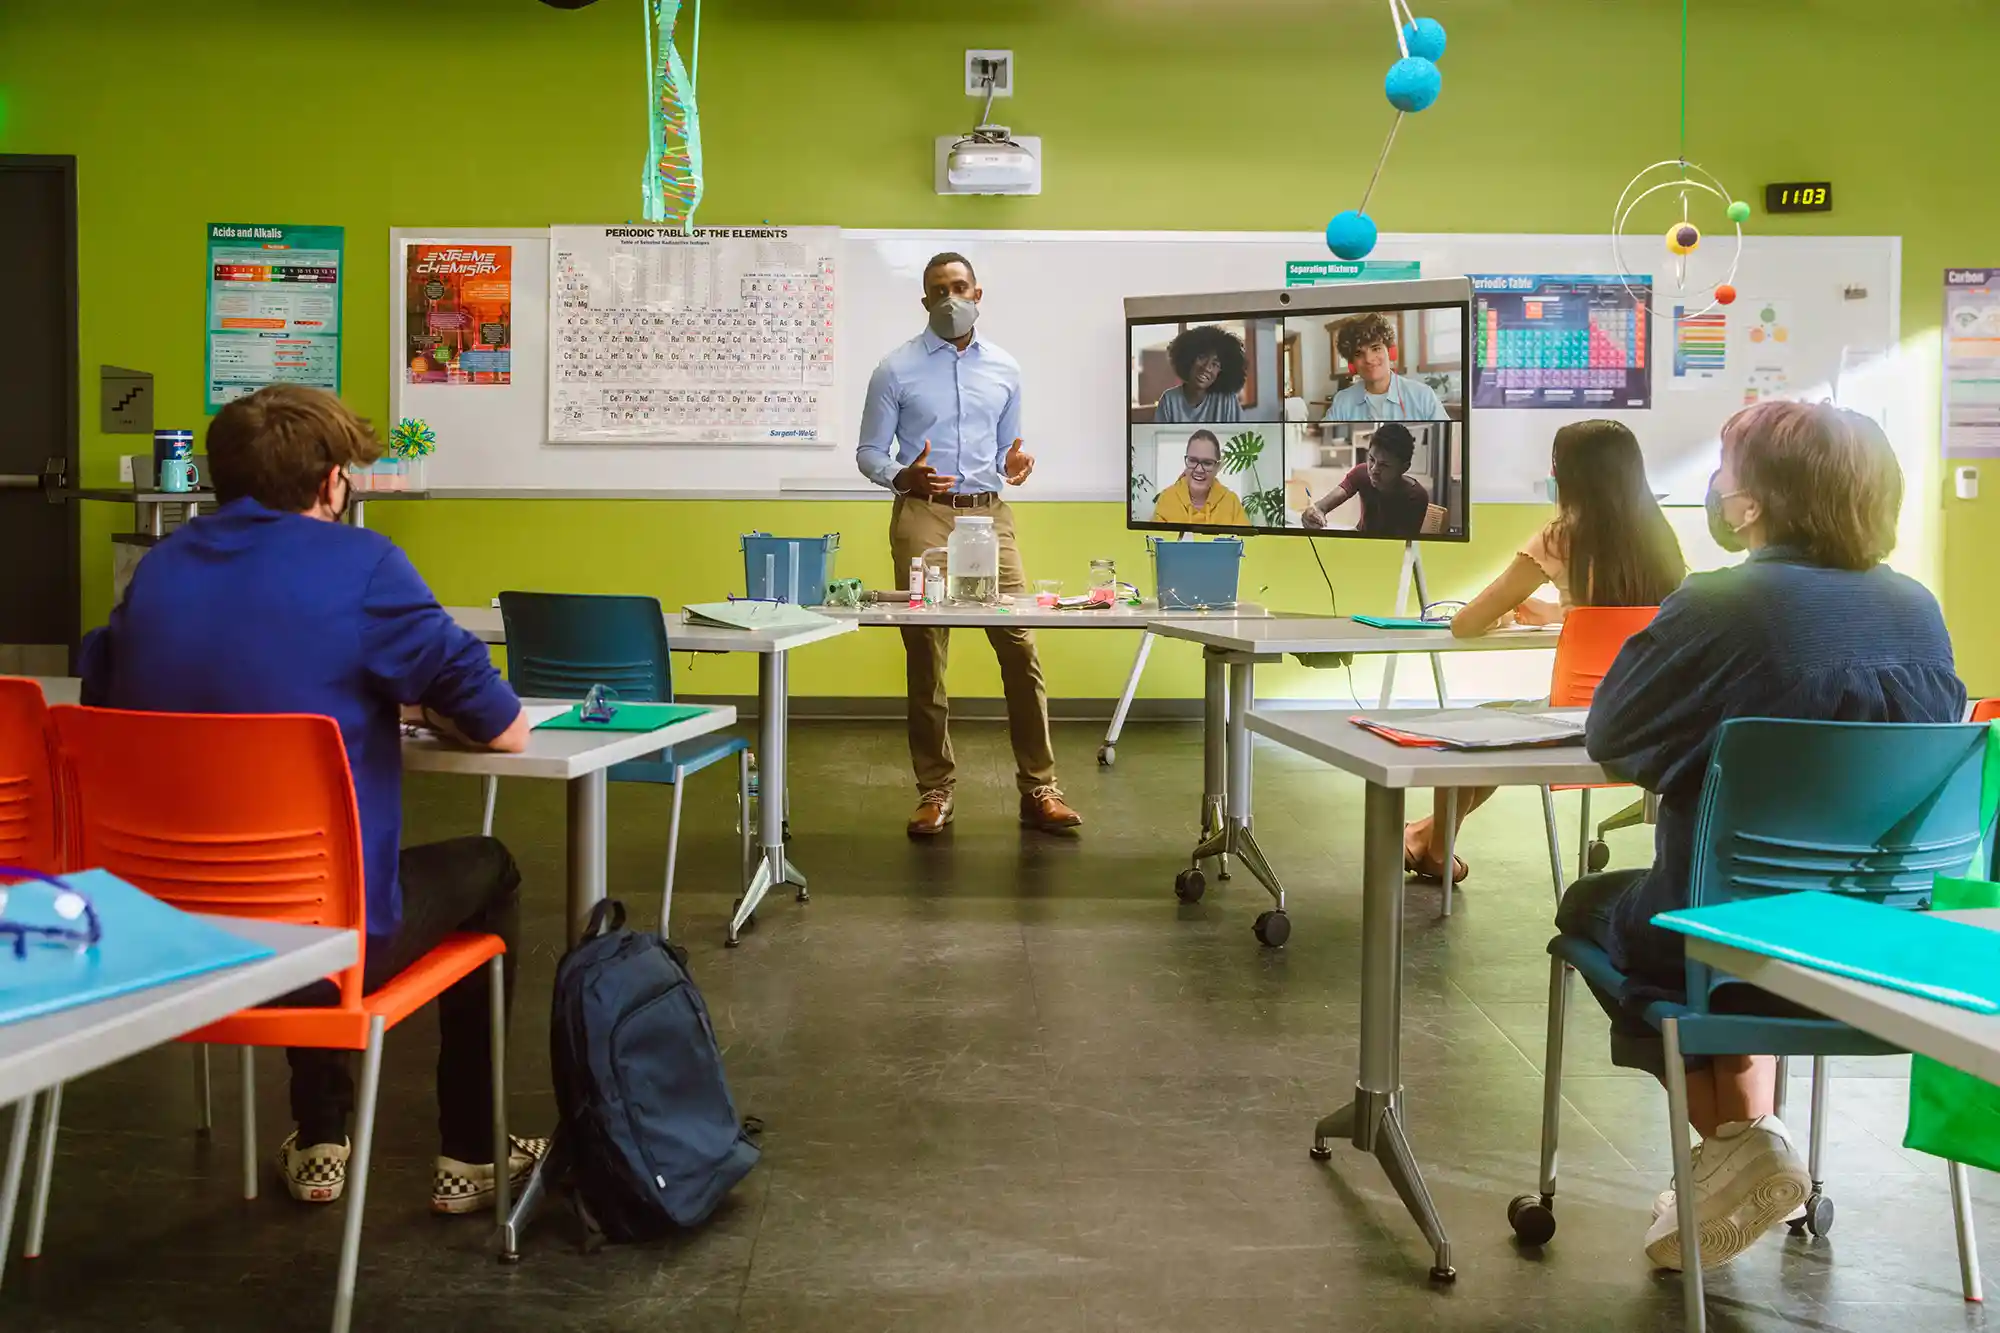
For conferences or classes involving multiple in-house participants, you’ll need to set up the room. It doesn’t have to be anything fancy and the costs aren’t necessarily exorbitant.

To make sure that remote participants enjoy the conversation as much as possible, the room will need to be well lit so that light reaches each in-house participant’s face. For acoustics, you’ll need to lay carpeting. Tiled rooms sound like oversized bathrooms. Participants should be comfortable, so get them some wireless microphones and speakers to ensure that they have ample mobility. Before each meeting, make sure that speakers are pointing away from the microphones to prevent feedback (i.e. the nasty sound you hear during presentations that rings in your ears).

For more details, see our complete guide to setting up your next-generation classroom or conference room.

Using Two Screens

Why resort to a measly 21-inch monitor when you can pump video on two screens? It’s twice the HD on one platform. Zoom can show a presenter on one screen and the presentation on the other. This elegant feature lets you explore more possibilities. For example, presenters may use one camera pointed at them and a document camera simultaneously running to present information. On the presenter’s end, he/she will have to run two computers, since only one video source may be selected at a time due to hardware interface limitations on computer operating systems.

Learn more about using dual monitors.

Recording a Video Stream

Staff training sessions and class lectures don’t always have to be repetitive tasks. With Zoom’s recording feature, you can streamline these activities by recording the lectures and trainings for later use with other groups.

All recordings are conveniently stored on your computer, allowing you to quickly upload them to video platforms such as YouTube or Vimeo. You can also send them to your school's cloud platform for students to view at any time.

To record a meeting in Zoom, click “Record” on the bottom right-hand side of the screen. You may stop the recording at any time by clicking the same button, which will then be called “Stop Recording.” When the meeting ends, the recorded video will be converted to MP4 format. Once finished, a window will open with the location of your recorded video for your convenience.

Learn more about recording.

Using a Recurring Meeting ID

Classes can now have their own semi-permanent meeting rooms with Zoom’s recurring meeting ID feature, which creates a unique virtual room that will last for one year. This works much like a real-world classroom. Students can join by typing in the meeting room ID or clicking on the meeting room link every day. This way, you don’t have to send them a new link each time you start a class. One link at the beginning of the school year will suffice.

By scheduling a meeting, you effectively create one of these rooms. For more information on this feature and how to use it, follow our guide or watch our video on scheduling meetings.

Using Annotations

When giving a presentation using Zoom’s screen sharing feature, it’s often important to leave marks or notes on areas of the screen for reference. Zoom’s annotation menu allows you to do exactly this, providing you with arrows, pens and even a highlighter. When sharing your screen (by clicking “Share Screen” on the bottom of the interface), click the downward-pointing arrow next to “Stop Share.” There will be a list of all the annotations that Zoom provides.

Learn more about annotations.

Your Mastery of Zoom is Almost Complete!

Before you have your next virtual meeting, be sure to test all the features and practices we mentioned. Once you learn the ropes, you’ll get to host and participate in fun, interactive and productive meetings that provide positive environments for students and faculty. You’ll see for yourself how Zoom facilitates an environment that allows education to branch out into new frontiers!

Want to learn more? Join the Zoom Education User Group on LinkedIn today!

Haven’t tried Zoom yet? Sign up for a free account today!

Our customers love us

Okta
Nasdaq
Rakuten
Logitech
Western Union
Autodesk
Dropbox
Okta
Nasdaq
Rakuten
Logitech
Western Union
Autodesk
Dropbox

Zoom - One Platform to Connect